Selling art online requires more than a good description. The image is the first thing a buyer notices, and poor lighting or focus can make even a masterpiece look amateur. When potential collectors browse an internet-store pictures, they cannot touch the canvas or walk around the piece. They rely entirely on the photograph to judge quality, color accuracy, and condition. Getting this right is not optional; it is the foundation of your online presence. A well-executed photograph builds trust and drives sales, while a blurry or dull one sends buyers clicking away to the next listing.
Understanding Lighting Setups for Accurate Color
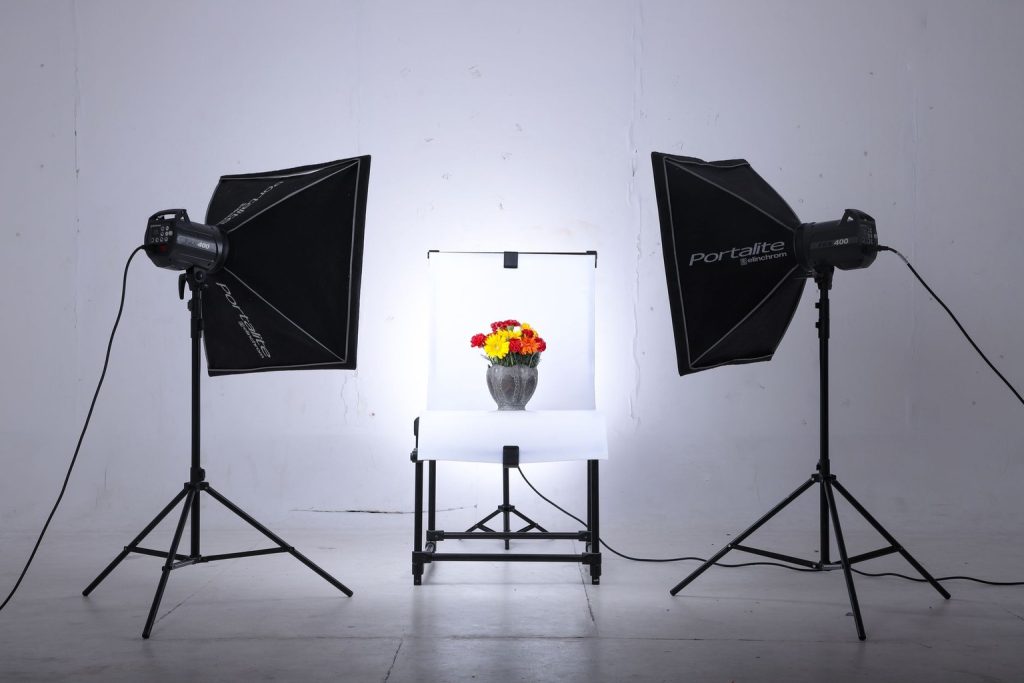
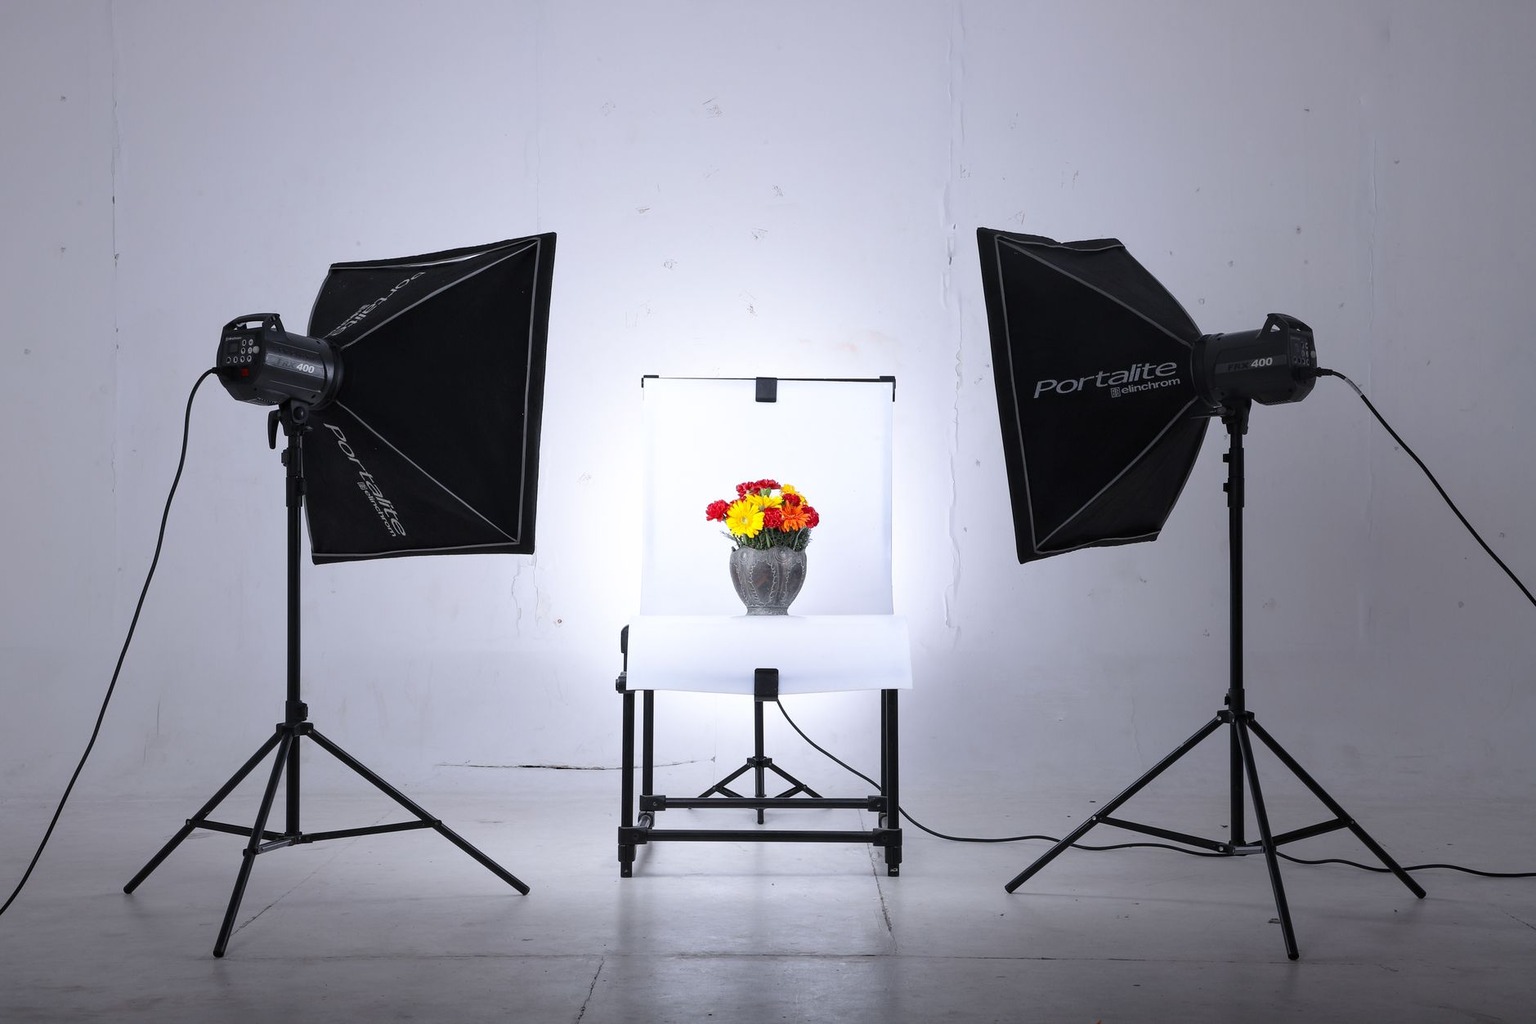
Lighting is the single most important factor in photographing art for online sales. Natural light is often the best starting point, but it is inconsistent. A north-facing window provides soft, diffused light that minimizes harsh shadows and prevents colors from shifting throughout the day. If natural light is limited, a two-light softbox setup is the professional standard. Position one light source at a 45-degree angle to the left of the artwork and the other at a 45-degree angle to the right. This cross-lighting technique eliminates hot spots and ensures that the colors you see are the colors the camera captures. Avoid using a single on-camera flash, as this creates flat lighting and glare, especially on oil paintings or works protected by glass. The goal is to mimic an even gallery environment so that the online listing reflects the true appearance of the original work.
Color temperature also plays a subtle but critical role. Mixed lighting sources, such as a warm tungsten bulb combined with cool daylight, will result in color casts that are difficult to correct in post-processing. Stick to a consistent color temperature, typically around 5600K for daylight-balanced bulbs, and use the camera’s white balance setting to match the light source. Many artists find that shooting in the “golden hour” just after sunrise or before sunset provides a warm, flattering light that enhances texture without the need for complex equipment. However, for consistency across an entire inventory, artificial lighting setups offer control that sunlight simply cannot provide.
Camera Choice and Resolution Considerations
You do not need the most expensive camera on the market to achieve professional results, but you do need a camera with sufficient resolution. A full-frame DSLR or mirrorless camera with at least 24 megapixels is ideal for capturing the fine details of a painting or print. Higher resolution allows for cropping and zooming without losing quality, which is essential when a buyer wants to inspect the brushwork or paper texture. If a dedicated camera is not available, a high-end smartphone with a large sensor can produce excellent results, provided the lighting is controlled. The key is not the brand, but the ability to capture a clean, detailed image that retains fidelity when viewed on a screen.
Lens selection is equally important. A prime lens in the 50mm to 85mm range is recommended because it minimizes distortion and provides a natural perspective. Wide-angle lenses can cause the edges of the artwork to appear stretched or curved, which distorts the proportions of the piece. A standard “nifty fifty” lens is a versatile workhorse for most art photography situations. Additionally, consider the camera’s dynamic range. Art often contains a wide spectrum of values, from deep shadows in a dark painting to bright highlights on a varnished surface. A camera with good dynamic range will capture detail in both extremes, preventing the loss of information in the shadows or blown-out highlights.
Tripod Stability and Camera Settings
Sharpness is non-negotiable in online listings, and camera shake is the enemy of clarity. A sturdy tripod is an essential investment for any artist serious about online sales. Even with steady hands, a tripod allows for longer exposures in lower light without introducing blur. Set the camera on the tripod and ensure the artwork is perfectly parallel to the camera sensor. If the artwork is tilted, the perspective will be skewed, making a rectangular piece appear trapezoidal in the image. Use a bubble level or the camera’s electronic level to confirm that the camera is perfectly square to the artwork before shooting.
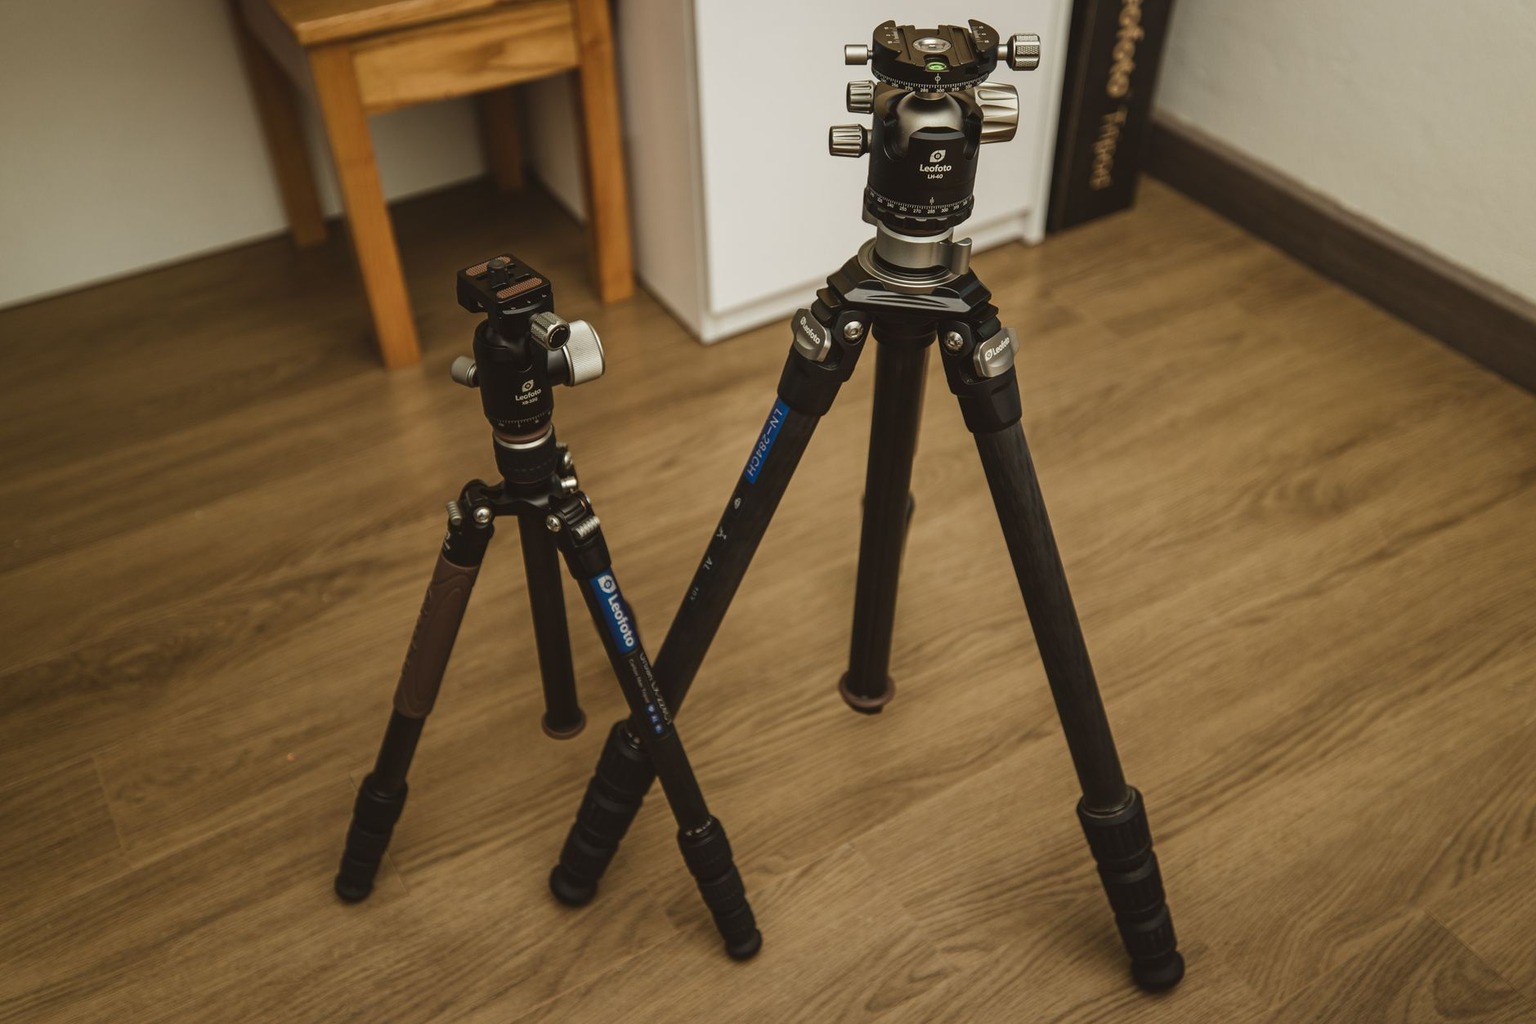
Once the camera is stable, move to the settings. Shoot in RAW format if the camera allows it; this preserves maximum data for later editing. Set the ISO as low as possible, typically 100 or 200, to minimize noise and grain, which are amplified when images are viewed on high-resolution screens. Aperture should be chosen to ensure the entire artwork is in focus. For most flat art, an aperture around f/8 or f/11 provides a good depth of field while maintaining sharpness. Avoid very small apertures like f/22, as diffraction can actually soften the image. Finally, set the shutter speed to synchronize with the lighting; if using strobes, the sync speed of the camera will dictate the fastest shutter speed you can use.
Framing the Artwork and Avoiding Distortion
How you frame the artwork in the viewfinder directly impacts how the piece is perceived online. The artwork should fill the frame as much as possible without cutting off any edges. Leave a small margin of the background or wall around the piece to provide context and avoid the feeling of a cramped composition. When photographing three-dimensional works like sculptures or textured pieces, angle the camera carefully to capture the form without distorting the shape. Perspective distortion is a common issue when the camera is not aligned perpendicular to the subject.
Pay close attention to the background. A cluttered room or a busy wall distracts from the art and looks unprofessional in a listing. Use a neutral, solid-colored backdrop, such as white, gray, or black, depending on the artwork’s tones. For paintings on canvas, hanging the piece on a plain wall or using a dedicated art photography stand creates a clean, gallery-like look. If the art is unframed, ensure the edges are clean and free of dust, as these will be visible in the final image. The goal is to direct 100% of the viewer’s attention to the artwork itself, making the online listing feel like a window into the studio.
Post-Processing for Online Display
Raw files straight out of the camera rarely look perfect, and a small amount of post-processing is expected to make the image pop on a screen. The first step is usually color correction. Adjust the white balance so that whites appear neutral and colors are true to life. Be careful not to over-saturate; the goal is accuracy, not making the colors “pop” unnaturally. Use the histogram tool to ensure the tonal range is balanced from pure black to pure white, preventing lost detail in the extremes.
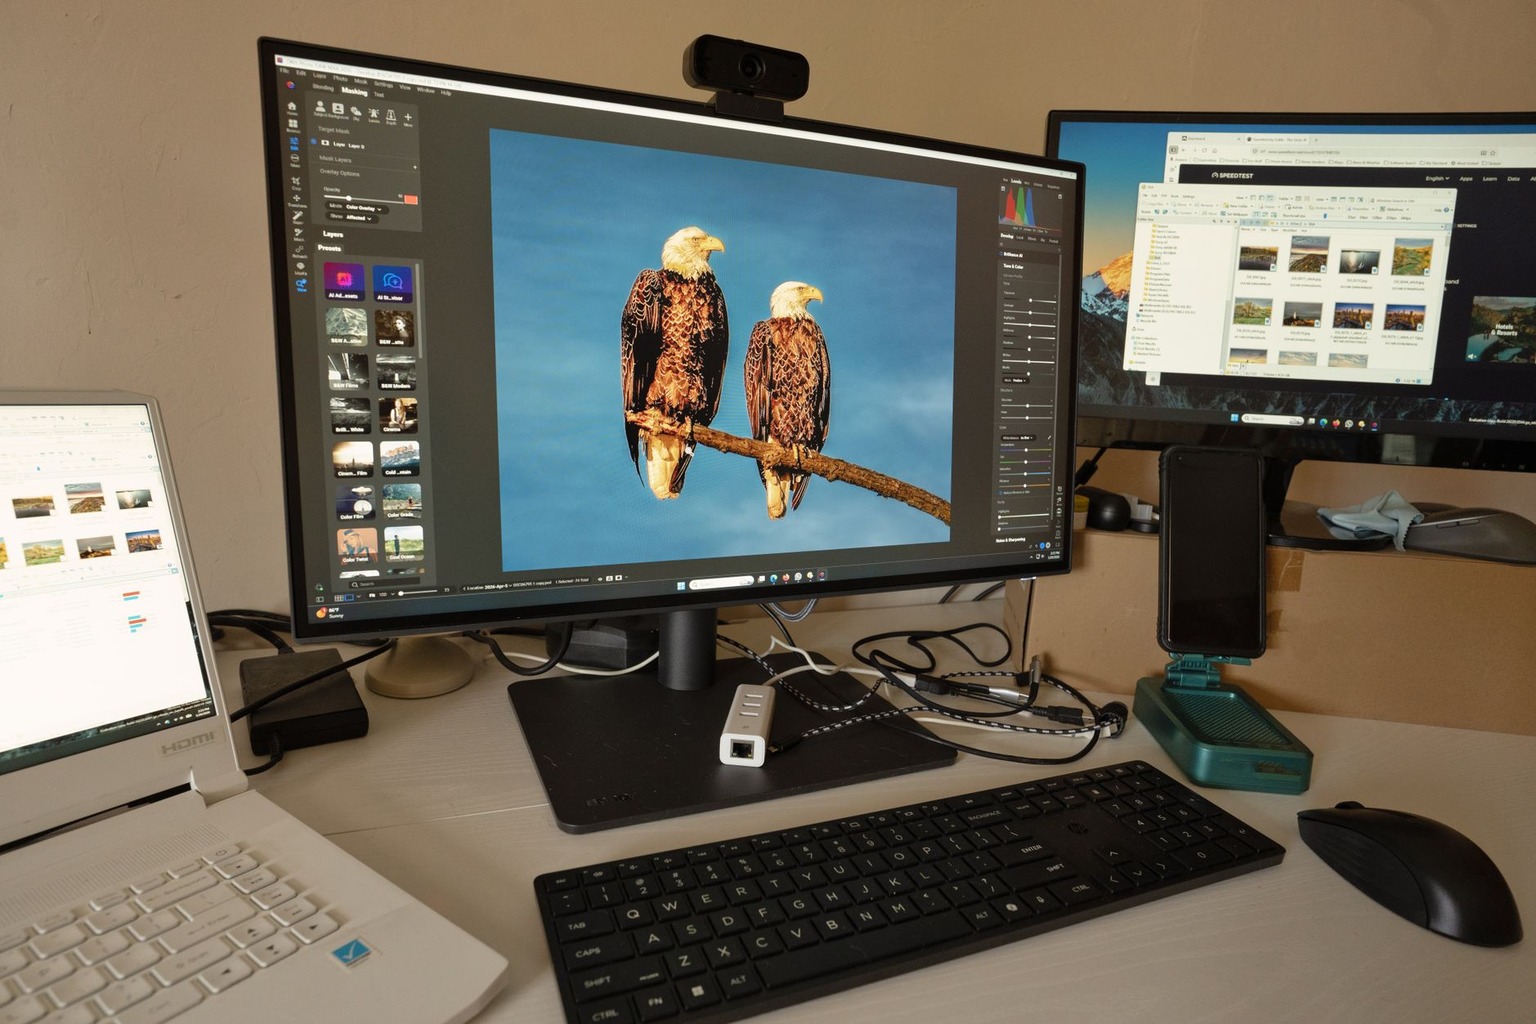
Cropping and straightening are often necessary to remove the background margin or correct slight tilts. Apply subtle sharpening to enhance the appearance of texture, but do not overdo it, as this can introduce halos around high-contrast edges. Resize the image specifically for the online platform’s requirements. A common mistake is uploading a massive file size, which slows down page loading times and frustrates buyers. Most e-commerce platforms recommend a maximum width of 2000 pixels on the long side, saved as a high-quality JPEG. This size provides crisp detail on retina displays while maintaining fast load speeds, which is a critical factor in keeping potential buyers on the page.
Lighting Modifiers and Reflectors for Texture
Beyond the basic light sources, modifiers can help you control the mood and texture captured in the photograph. A softbox diffuser spreads the light evenly, which is ideal for smooth surfaces like oil paintings. However, if you want to emphasize the impasto texture of thick paint, a harder light source or a snoot can create specular highlights that catch the ridges of the paint. Experiment with the distance of the light; moving the lights further away creates a softer light, while moving them closer increases contrast and texture.
Reflectors are a low-cost way to fill in shadows without adding another light source. A white foam core board placed opposite the main light source will bounce light back into the shadow areas, lifting the darks and revealing detail that might otherwise be lost. This technique is particularly useful for works on paper or prints where you want to see the full range of values. Be mindful of the reflector’s color; a white reflector maintains color neutrality, while a silver one can add a cooler tone, and a gold one adds warmth. These small adjustments in the setup phase save hours of work in editing and result in a more three-dimensional feel in the final online image.

I have spent years transforming my home into a personal gallery, constantly hunting for unique pieces that bring walls to life. There is nothing quite like the thrill of discovering an emerging artist online and finding the perfect artwork to complement a room. I am passionate about helping others navigate the world of digital art markets to find authentic pieces that truly resonate with their style.