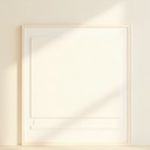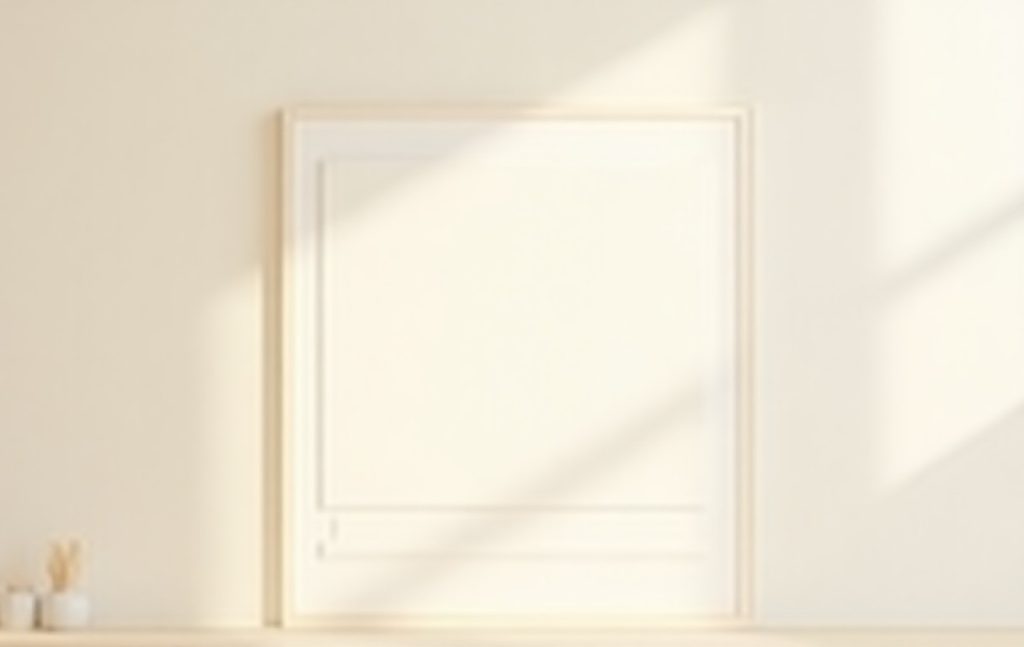
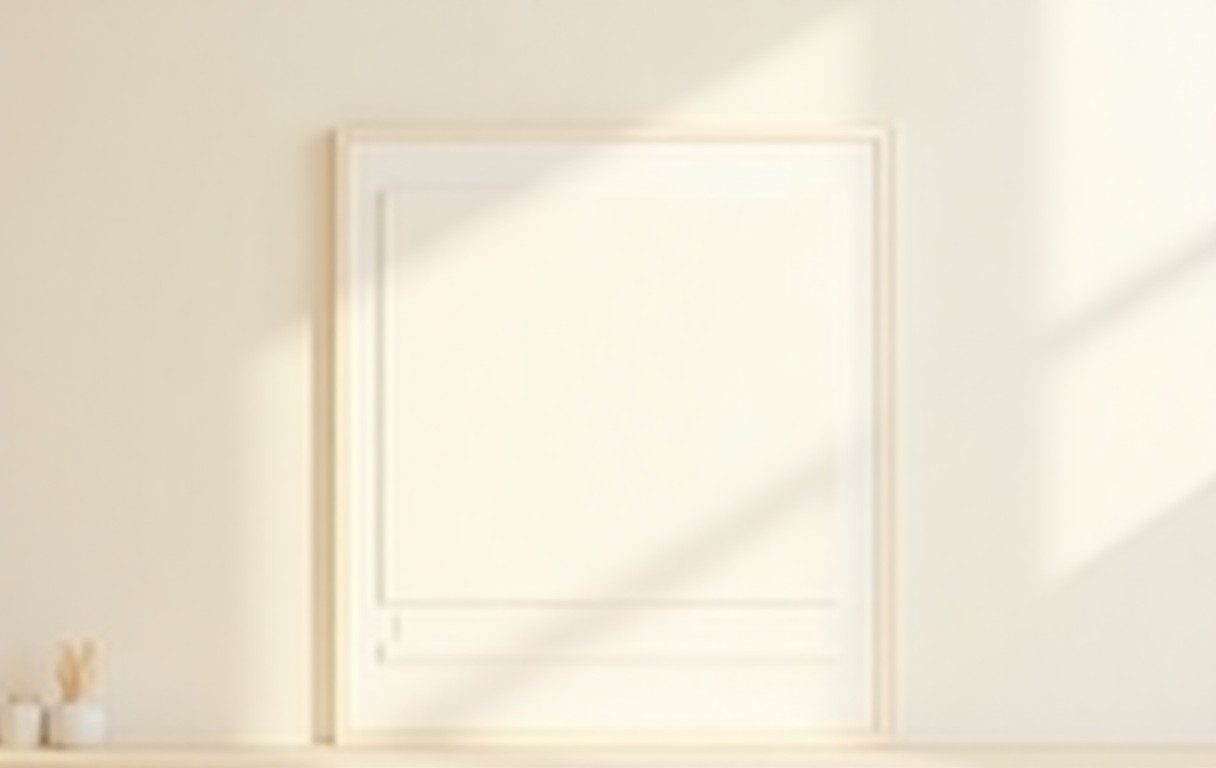
Hanging art in your home is an essential step in personalizing your space and expressing your artistic taste. However, the process can often be daunting, especially when considering the damage that traditional nails and screws can inflict on your walls. Fortunately, Command Strips offer an innovative solution for art lovers seeking a damage-free, easy-to-use method for hanging their favorite pieces. In this article, we will explore how to effectively use Command Strips to hang art, ensuring both your walls and artwork remain intact.
Understanding Command Strips
Command Strips are adhesive strips that are designed to hold lightweight items on walls without causing damage. They come in various sizes and strengths, making them suitable for a range of artwork, from small prints to larger canvases. Made from a combination of foam and adhesive, Command Strips are easy to apply and remove, making them an ideal choice for renters or anyone who enjoys frequently changing their decor. The strips work by adhering to both the wall and the back of the artwork, creating a secure bond that can withstand typical household conditions.
Choosing the Right Command Strips
When selecting Command Strips for your art, it’s crucial to choose the right type based on the weight and size of the artwork. Command offers strips that can hold anywhere from 1 pound to 16 pounds. For smaller prints or lightweight frames, standard strips will suffice. However, for larger pieces, it’s advisable to use heavy-duty strips or multiple strips to distribute the weight evenly. Always check the packaging for weight limits and recommendations to ensure your artwork is securely fastened.
Preparing Your Artwork for Hanging
Before applying Command Strips, make sure your artwork is ready to be hung. If you are using a frame, ensure that the back is clean and free of dust or grease. This will help the strips adhere better. If your art is unframed, consider using a piece of cardboard or a lightweight backer board to provide a stable surface for the strips. Measuring the dimensions of your artwork can also help in planning how to position it on the wall.
Step-by-Step Guide to Hanging Art with Command Strips
To hang your artwork using Command Strips, follow these simple steps:

1. **Measure and Mark**: Begin by deciding where you want to place your artwork. Use a level to mark the desired height on the wall with a pencil. This will serve as a reference point for hanging your piece straight.
2. **Prepare Command Strips**: Take the Command Strips and separate the adhesive strips. You will need two strips for most small to medium-sized frames and four for larger pieces. Press the strips onto the back of the frame or artwork, ensuring they are evenly spaced for optimal support.
3. **Clean the Wall Surface**: Use rubbing alcohol to clean the area on the wall where the artwork will hang. This ensures that the adhesive bonds well without dust or residue interfering.
4. **Attach the Artwork**: Peel off the backing from the strips attached to the artwork, align your piece with the pencil mark, and press it firmly against the wall for at least 30 seconds. Make sure to apply even pressure to ensure a good bond.
5. **Wait Before Adjusting**: It’s best to let the adhesive sit for about an hour before making any adjustments or moving the artwork. This allows the adhesive to cure fully and creates a stronger hold.
Tips for Displaying Art Using Command Strips
When hanging art with Command Strips, consider these helpful tips to enhance your display:
1. **Create a Gallery Wall**: Use multiple pieces of art to create a gallery wall. Measure the spaces between each piece carefully to achieve a balanced and cohesive look. Command Strips make it easy to rearrange pieces until you find the perfect layout.
2. **Varying Frame Styles**: Mix and match different frame styles and colors to add visual interest. Command Strips allow for easy changes, so you can experiment with different combinations without damaging your walls.
3. **Use with Other Decorative Items**: Command Strips can also be used to hang lightweight decorative items like mirrors or small shelves. Just ensure the items do not exceed the weight limits specified by the strip packaging.
Removing Command Strips without Damaging Walls
One of the best features of Command Strips is their ability to be removed cleanly without damaging surfaces. When it’s time to take down your artwork, follow these steps:

1. **Grip the Bottom of the Strip**: Start by gently pulling down on the bottom of the strip. This action begins to stretch the adhesive, which is crucial for a damage-free removal.
2. **Pull Straight Down**: Continue to pull straight down slowly, keeping the strip flat against the wall. Avoid pulling away from the wall as this can cause damage or leave residue.
3. **Clean Up Residue**: If any adhesive remains on the wall, simply rub it gently with your fingers or use a bit of rubbing alcohol to clean the area.
Common Mistakes to Avoid
While hanging art with Command Strips is relatively easy, there are a few common pitfalls to watch for:
1. **Overloading the Strips**: Always adhere to the weight limits indicated on the packaging. Overloading can lead to your art falling and potentially damaging both the artwork and the wall.
2. **Improper Surface Preparation**: Failing to clean the wall properly before applying Command Strips can lead to a poor bond. Ensure the surface is dry and clean for the best results.
3. **Neglecting to Wait**: Allowing the adhesive to set is crucial. Rushing this step can cause your art to fall, negating the convenience of using Command Strips.
Conclusion
Hanging art using Command Strips is a straightforward and effective method that can enhance any space without the hassle of nails and hammers. By selecting the right strips, preparing your artwork properly, and following the right steps, you can create a beautiful display that is both secure and flexible. Whether you’re a seasoned art collector or simply looking to refresh your home decor, Command Strips provide the ideal solution for hanging your favorite pieces. Embrace your creativity and enjoy transforming your walls into a stunning gallery with ease!